obsidian 与 hexo 联动部署github page
✍github action部署参考
- hexo博客工作流CI(一键部署的快乐) | Barryの小站 (smitten.top)
- Github Actions自动部署
- 使用Github Action实现全自动部署 | Akilarの糖果屋
- 从私有代码库自动部署Hexo站到GitHub Pages | Finisky Garden
- 利用 Github Actions 自动部署 Hexo博客 | 天涯路远 (diego369.github.io)[经实践有效]2023-5-2
- 利用 Github Actions 自动部署 Hexo 博客 | Sanonz
- Hexo+GitHub Actions 完美打造个人博客 - AnonyStar - 博客园 (cnblogs.com)
- Github Actions自动部署>_<欢饮回来! (ajream.github.io)
- GitHub Actions入门教程-自动部署静态博客 - 知乎 (zhihu.com)
- 给博客使用Butterfly主题并部署到GitHub服务器_butterfly 空格_XJHui’s Blog的博客-CSDN博客
obsidian +git维护hexo博客参考
搜索关键词:obsidian 部署 hexo github
- Obsidian+Git完美维护Hexo博客 - 知乎 (zhihu.com)
- Hexo + Obsidian + Git 完美的博客部署与编辑方案 | EsunR-Blog
- Hexo + Obsidian + Git 完美的博客部署与编辑方案 - 掘金 (juejin.cn)
github action 部署 hexo 过程中踩坑记录及解决办法
github action 报错
git@github.com: Permission denied (publickey).
fatal: Could not read from remote repository.
原因:无公钥,需重新生成
解决 :
在git Bash中执行:
1 | ssh-keygen -f github-deploy-key # 生成秘钥 |
会在当前目录中生成两个文件:
- 私钥文件
github-deploy-key - 公钥文件
github-deploy-key.pub
配置私钥:
复制 github-deploy-key 文件内容,在Hexo项目仓库,此处即 blog 仓库(priviate) Settings -> Secrets -> Secrets -> Actions 页面上点击 New repository secret 添加。
在 Name 输入框填写 HEXO_DEPLOY_PRI。
在 Value 输入框填写 github-deploy-key 文件内容。
配置公钥:
1.和私钥一样,只不过需要在部署github page的仓库配置公钥,以便链接。
2.记得勾选 Allow write access 选项。
参考文章:利用 Github Actions 自动部署 Hexo博客 | 天涯路远 (diego369.github.io)
编写github action
在本地 blog 仓库中 创建文件 .github/workflows/autodeply.yml (无路径的话就直接创建该路径文件夹,该文件在上传github仓库后在github action中自动运行文件中设定的工作流)GitHub Actions 的工作流语法 - GitHub 文档
- 注意:编写github action 时需要配置环境变量env,环境变量中含有仓库的公私钥以便有权操作其他仓库
- 环境变量:环境变量需在仓库的Settings -> Secrets -> Secrets -> Actions中添加,大写的都是环境变量,参考使用环境变量 - GitHub Actions(第 2 部分)_github_weixin_0010034-DevPress官方社区 (csdn.net)
- 仓库配置:需要打开读写权限,操作权限等,具体操作参考
github创建work flow:
1 | name: 自动部署 |
完成后,点击deploy ,可看到警告:该警告提示 Node.js 12 的准备过时(即将弃用),需要使用Node.js 16 actions/setup-node:使用特定版本的节点设置 GitHub 操作工作流.js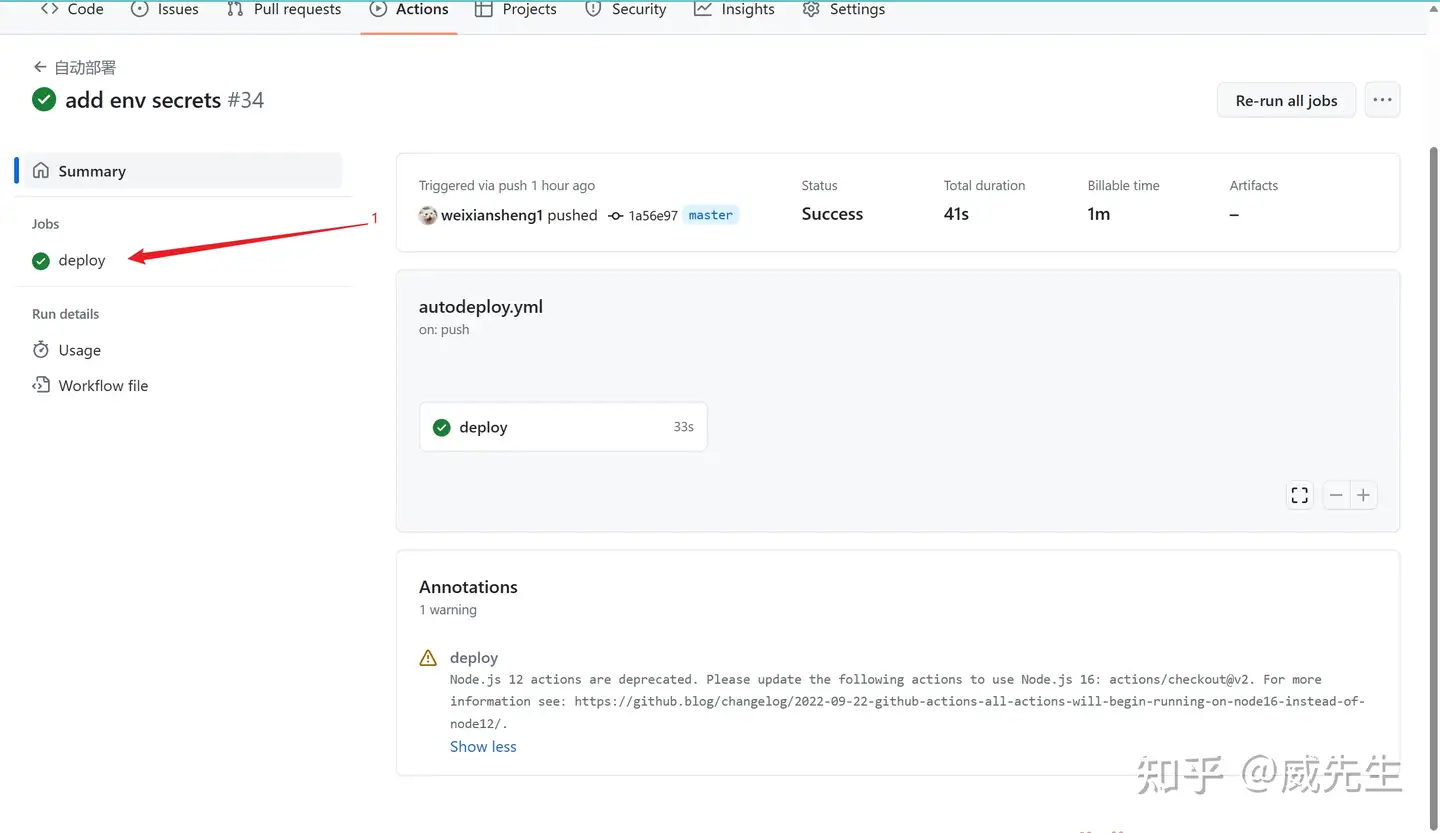
我们来修改 github action 中的workflow:点击Workflow file
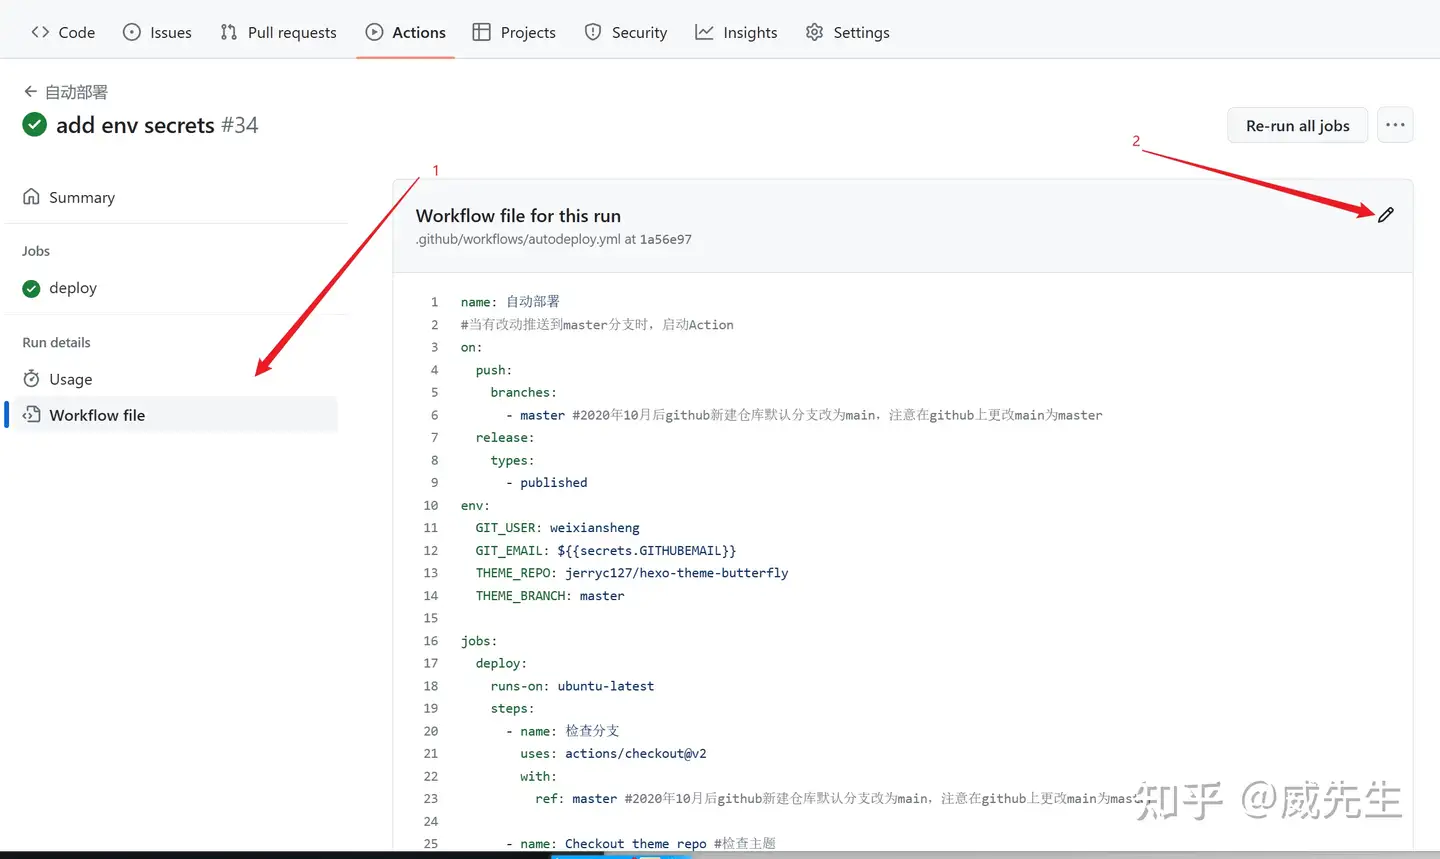
都改成:
- uses: actions/checkout@v3
- uses: actions/setup-node@v3
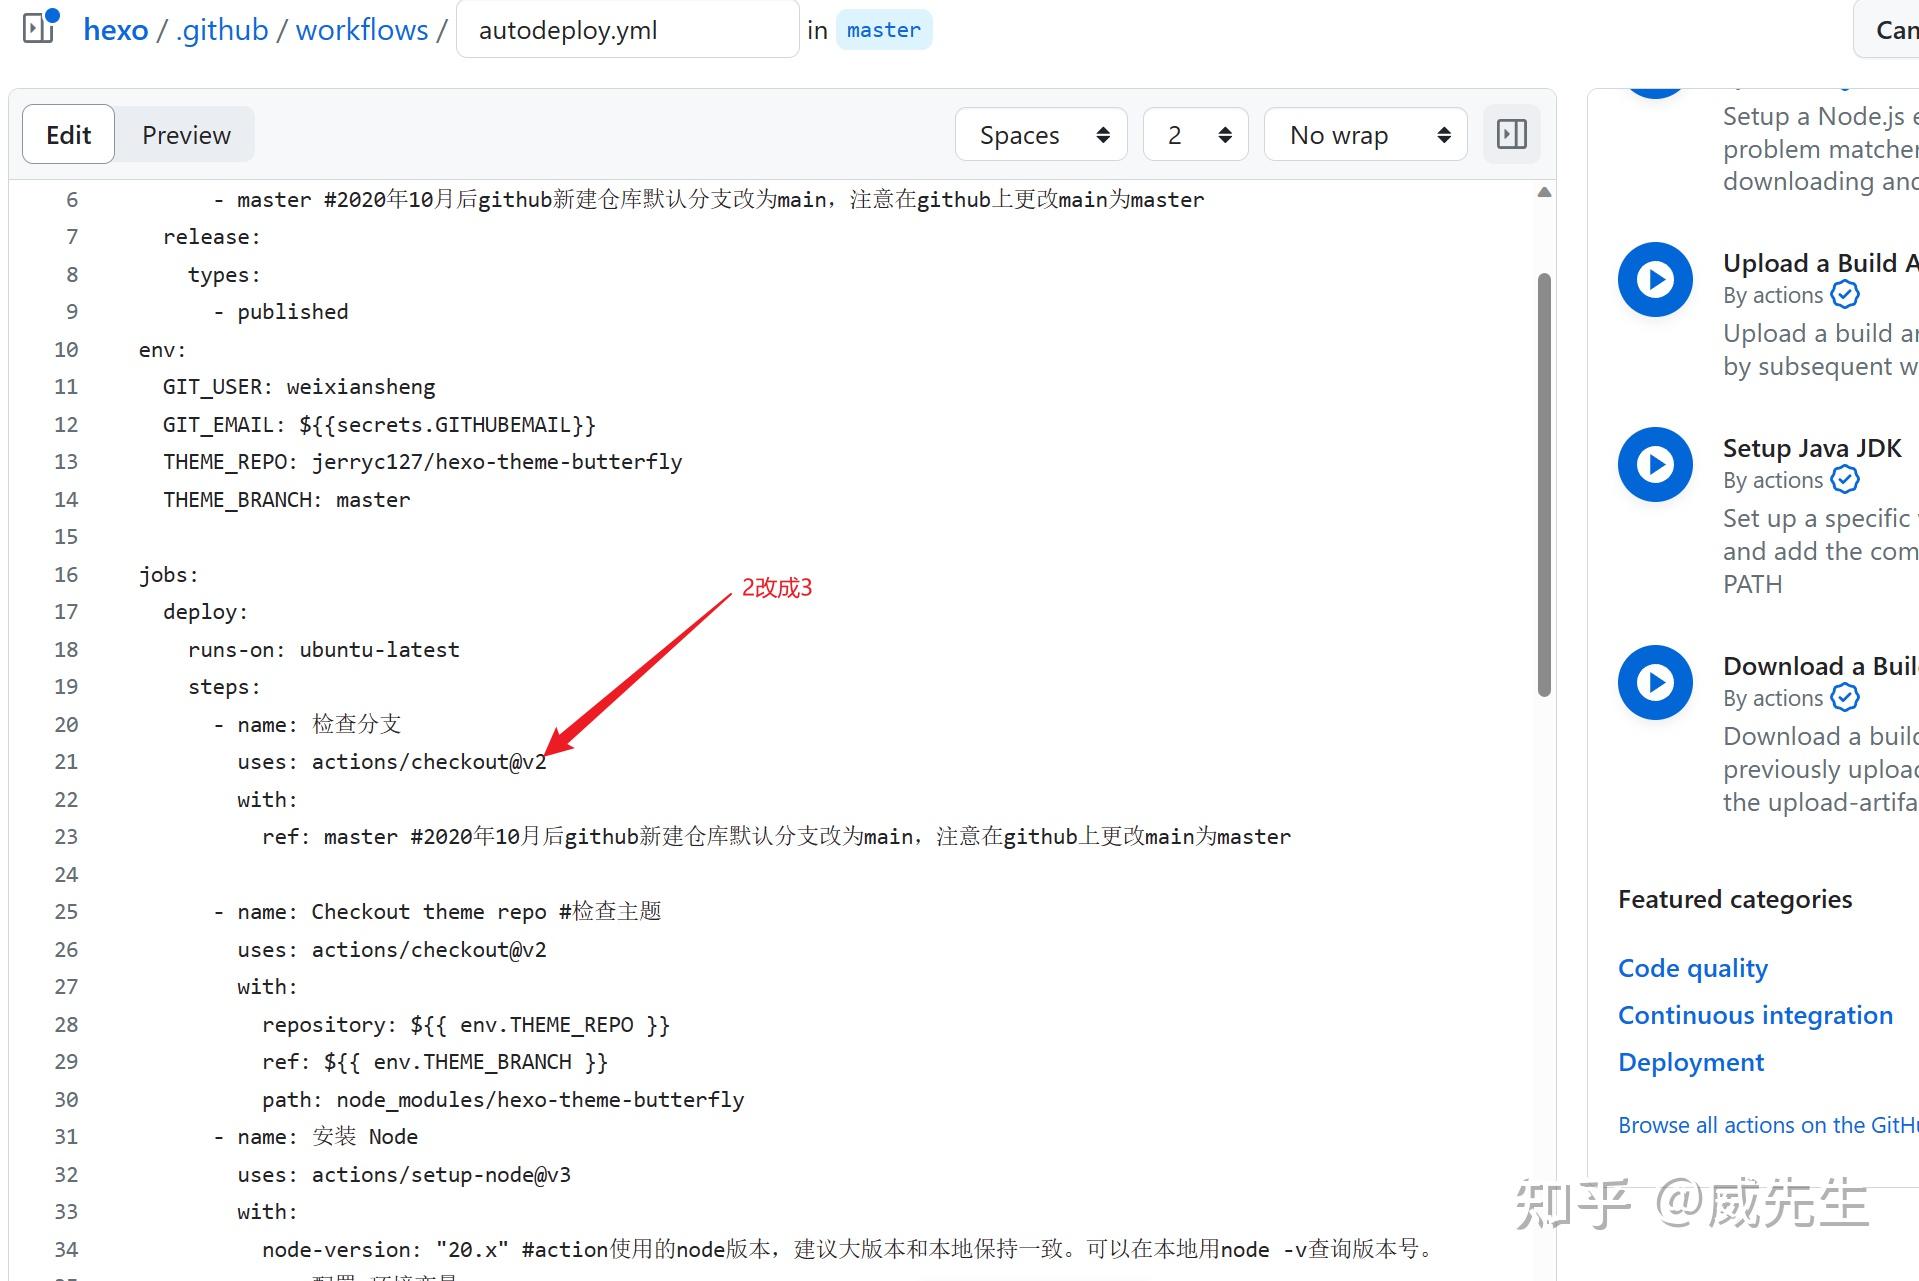
修改完成后点击提交
运行成功,无任何警告和报错,之后备份到本地workflow/autodeply.yaml中,以免下次提交后覆盖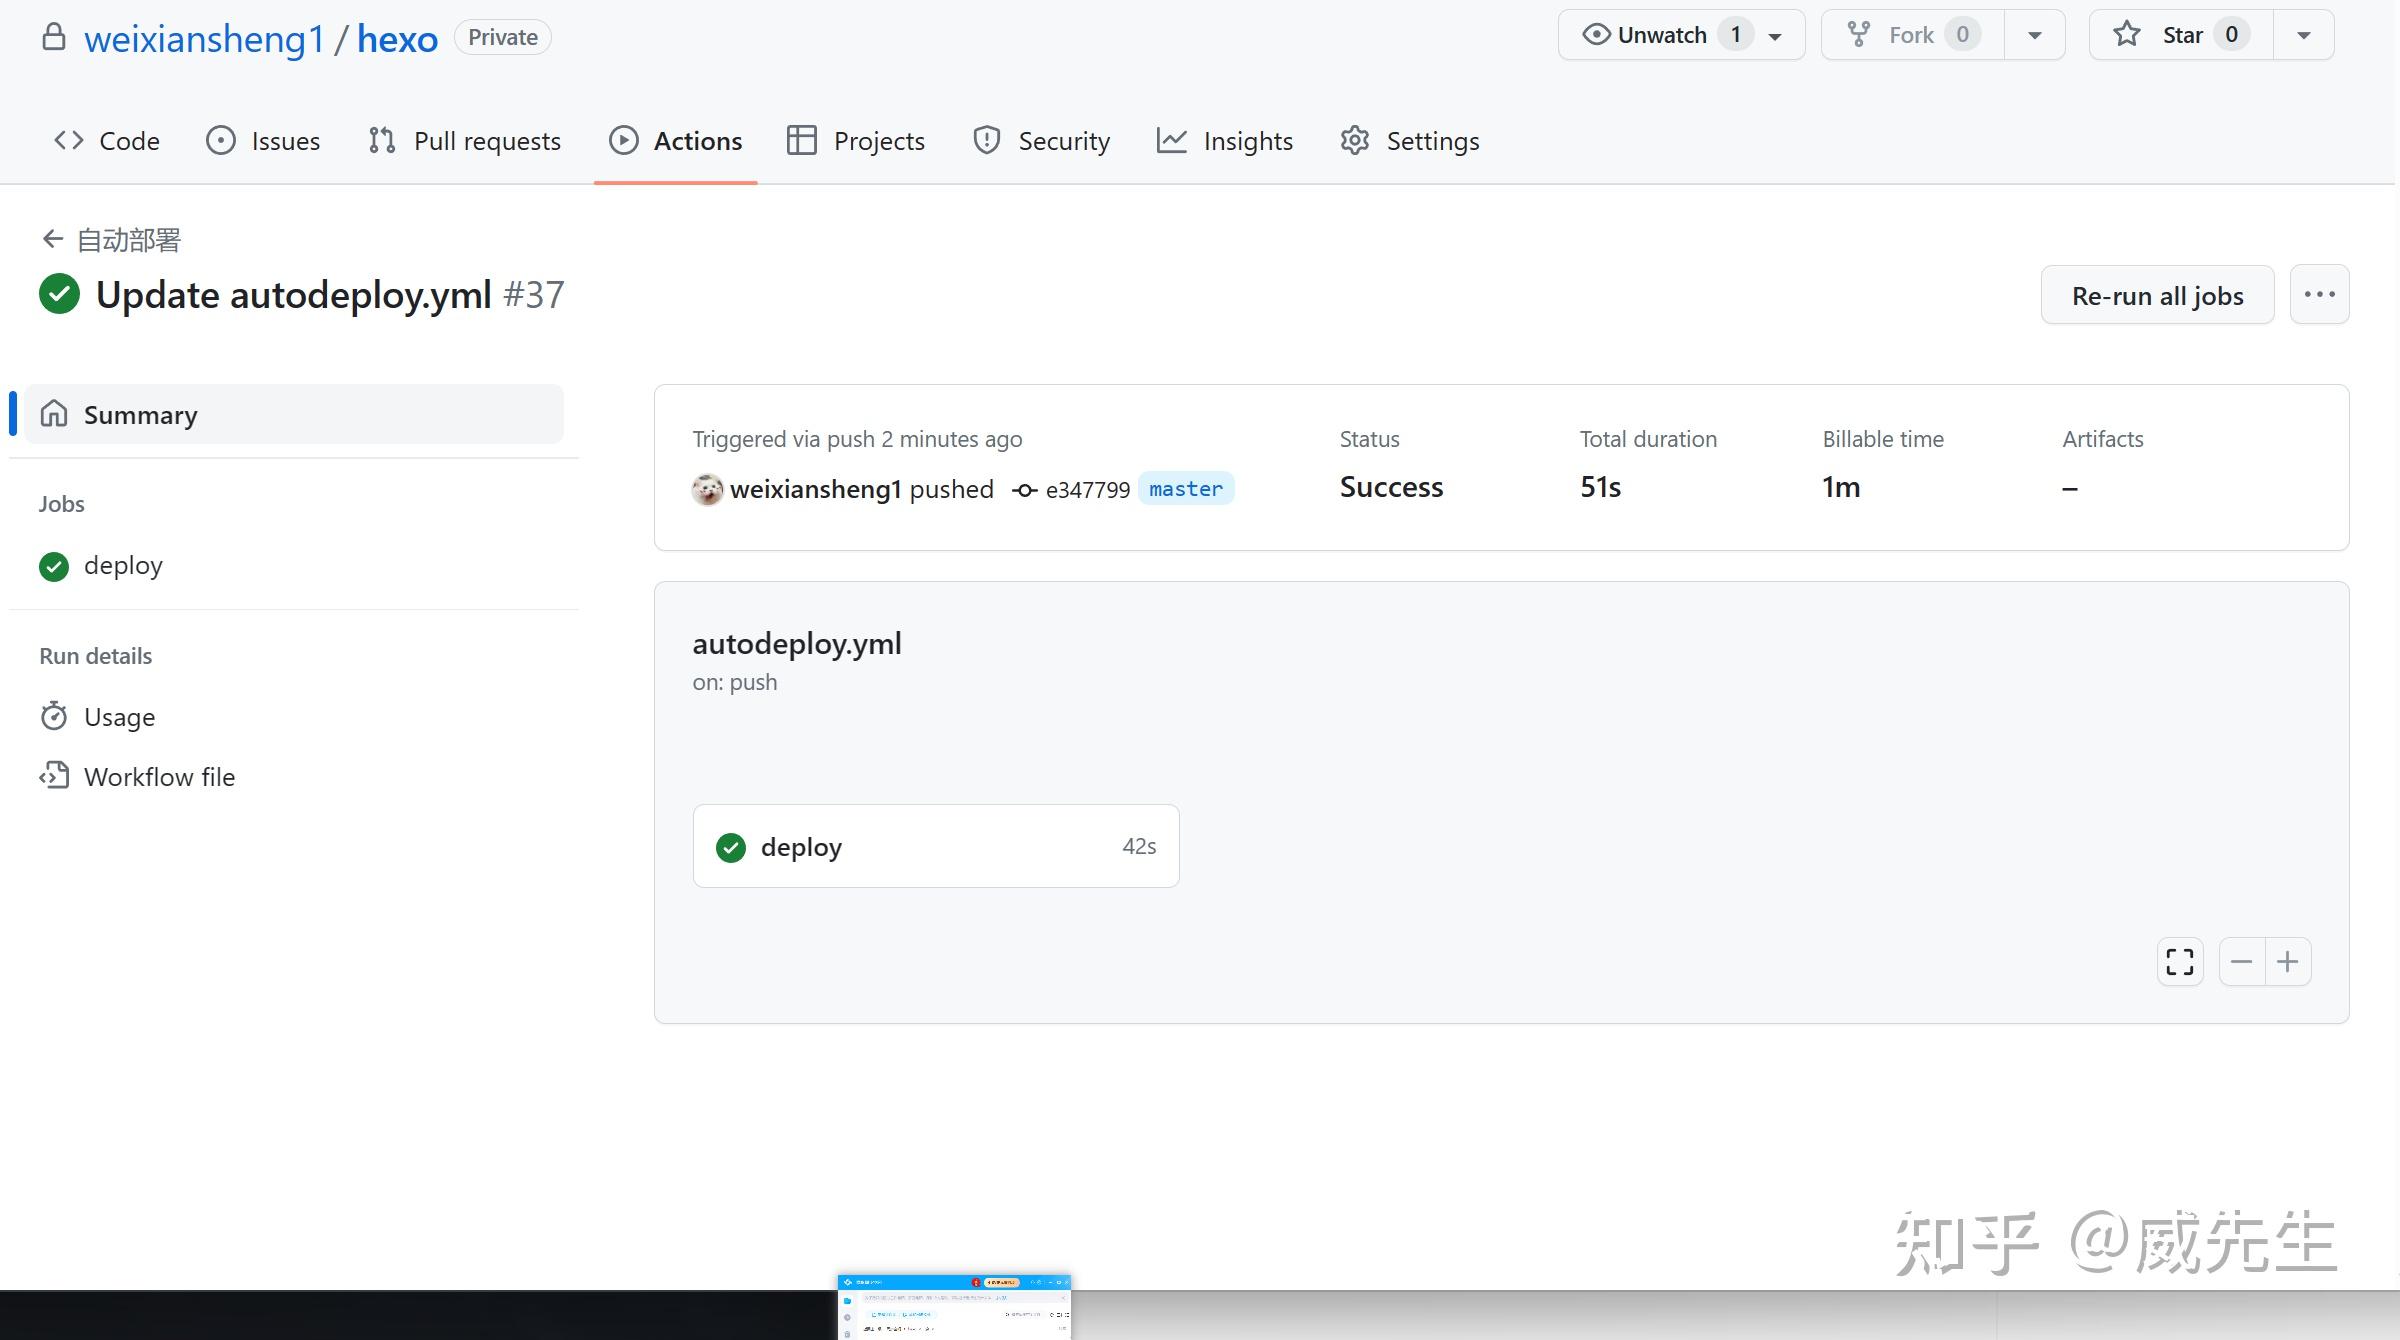
修改完成后,使用git add . 载入缓存,git commit -m”up date” 链接仓库,git push / git push -u origin master/git push origin master /git push –force origin master 来测试本地的workflow.file文件是否被修改好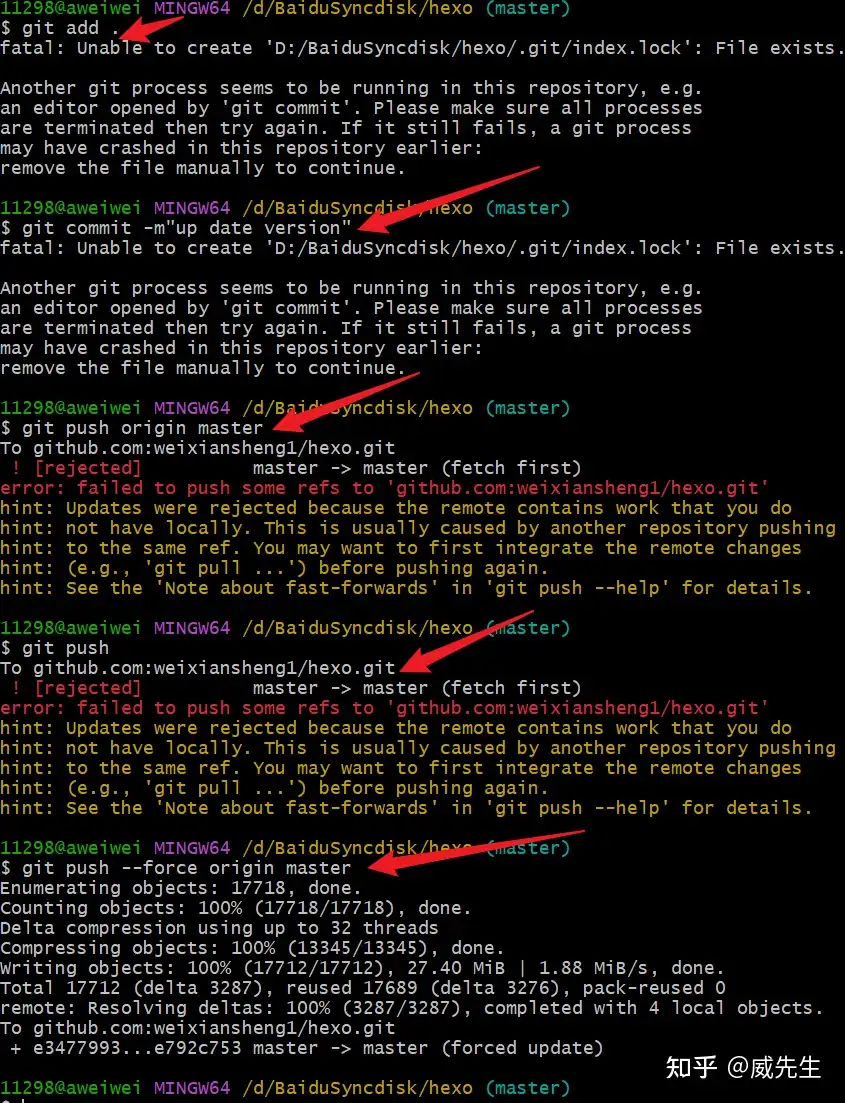
如果git bash部署过程中报错:Another git process seems to be running in this repository, e.g.
翻译:另一个git进程似乎正在这个存储库中运行,例如 由“git commit”打开的编辑器。请确保所有流程终止,然后重试。如果它仍然失败,一个git进程可能已在此存储库中崩溃:手动删除文件以继续。
原因:.git下的index.lock文件,在进行某些比较费时的git操作时自动生成,操作结束后自动删除,相当于一个锁定文件,目的在于防止对一个目录同时进行多个操作。有时强制关闭进行中的git操作,这个文件没有被自动删除,之后就无法进行其他git操作,必须手动删除。
解决方法:git Bash输入
1 | git clean -f .git/index.lock |
github action 主题不显示:
解决:github 上配置hexo theme 要在本地主题文件夹复制到theme中
这样既能够本地hexo s启动服务器去测试,又可上传github启动action workflow。
报错 :The deploy step encountered an error: The process ‘/usr/bin/git’ failed with exit code 128
原因:github action 无操作仓库权限
解决:需要在workflow file补充环境env变量信息,参考本文workflow写法
git add .命令错误,显示有其他文件正在使用
原因:
- git block文件但未删除
- 百度网盘同步过程中占用该文件
 微信(wechat)
 支付宝(alipay)